

Essential Grab Bar Placement for Walk-In Showers
Table of Contents
Why Grab Bar Placement Matters for Walk-In Shower Safety
Understanding Shower Grab Bar Height Standards
Where to Install Grab Bars in a Shower: Step-by-Step Placement
Entry and Exit Areas
Inside the Shower Enclosure
Bench and Seating Areas
Vertical vs. Horizontal Shower Grab Bars: Which You Need
Installing Grab Bars for Tiled Showers
Anchoring Into Tile Properly
Waterproofing and Moisture Protection
Common Mistakes to Avoid When Placing Grab Bars
Accessibility Controls and Backup Safety Features
Frequently Asked Questions
Last Updated: October 14, 2026
Why Grab Bar Placement Matters for Walk-In Shower Safety
Proper grab bar placement is one of the most critical safety features in any walk-in shower. A well-positioned grab bar prevents falls, provides stability during entry and exit, and gives users the confidence to shower independently.
Falls in the bathroom are a leading cause of injury at home (the CDC). Wet surfaces, poor lighting, and the challenge of stepping over tub edges create real hazards. Walk-in showers eliminate the step-over problem, but grab bars are what transform a shower into a genuinely safe space. They're not optional upgrades, they're essential infrastructure.
The placement of grab bars determines whether they actually work when someone needs them. A bar installed in the wrong spot becomes decorative rather than functional. This guide walks you through exactly where to install grab bars, what heights work best, and how to avoid the mistakes that leave people vulnerable.

Understanding Shower Grab Bar Height Standards
The standard grab bar height for showers is 33 to 36 inches above the floor. This range works for most adults and provides comfortable arm positioning without requiring you to reach too high or bend too low. Grab bars mounted lower than 33 inches force users to bend excessively. Bars above 36 inches require awkward reaching and reduce the stability they provide.
These height guidelines come from accessibility standards that have been tested and refined over decades. The goal is simple: your hand should grip the bar at roughly waist to mid-chest height when you're standing upright. That positioning gives you maximum use and control.
In practice, you'll often install multiple bars at different heights. A bar at the entry point might sit at 34 inches. A bar inside the shower enclosure could be positioned slightly higher or lower depending on the specific location and how people will use it. The key is matching the bar height to the actual movement, where someone grips it, not where it looks balanced on the wall.
Where to Install Grab Bars in a Shower: Step-by-Step Placement
Essential grab bar placement for walk-in showers follows a logical pattern based on how people move through the space. Most showers need bars in three key zones: entry and exit, interior corners, and near any seating. Let's break down each area.
Entry and Exit Areas
The entry point is where falls most often occur. People are transitioning from dry floor to wet shower, and they need immediate support. Install a grab bar vertically on the wall just inside the shower entrance. Position it 12 inches from the threshold and 33 to 36 inches high. This placement lets someone grip it as they step into the shower and steady themselves on the wet floor.
If your shower has a bench or seat near the entry, you might add a second horizontal bar above or beside it. This gives users something to hold as they transition from standing to sitting. Keep this bar between 33 and 48 inches high, depending on the bench height.
For walk-in showers with a curb or lip, some people prefer a bar mounted on the outside wall, just before entry. This helps with the initial balance as you step over the threshold. It's an extra safety layer, not always necessary, but valuable for users with significant mobility challenges.
Inside the Shower Enclosure
Inside the shower, grab bars should be positioned in corners and along walls where water pressure and movement create the greatest fall risk. Install a horizontal bar along the back wall at 33 to 36 inches high. This bar runs the length of the wall and gives users something to hold while standing under the showerhead or moving through the space.
Corner bars are critical. Where two walls meet, install a vertical or angled bar at 33 to 36 inches high. This positioning works because people naturally turn into corners and need support as they pivot. A corner bar prevents the slip-and-catch moment that causes many falls.
If your shower is large, consider adding a bar on the side wall as well. A horizontal bar 33 to 36 inches high gives users multiple grip points as they move through the space. Think of it as a path of support, someone should be able to reach a bar from almost any position inside the shower.
Bench and Seating Areas
If your walk-in shower includes a built-in bench or seat, grab bars become even more important. Install a vertical bar beside the bench at 33 to 36 inches high. This bar helps users lower themselves to sitting and push themselves back up to standing. Position it close enough to grip comfortably, usually 6 to 12 inches from the bench edge.
Add a horizontal bar above the bench as well, mounted at 48 to 52 inches high. This higher bar gives users something to hold while seated, providing stability and confidence. It also helps when transitioning from sitting back to standing.
For showers with a corner bench, install bars on both walls forming the corner. This creates a secure grip zone where the bench meets the walls, the exact spot where people need the most support.
Vertical vs. Horizontal Shower Grab Bars: Which You Need
The orientation of your grab bars matters as much as their placement. Vertical bars and horizontal bars serve different purposes, and most showers need both.
Horizontal bars are best for pulling yourself up or stabilizing side-to-side movement. They work well along walls and above benches. When you're standing and need to steady yourself, a horizontal bar is what you'll naturally reach for. Most of the bars in your shower should be horizontal, running the length of walls or positioned across corners.
Vertical bars are better for rotational movement and turning. They help when you're pivoting into a corner or changing direction inside the shower. A vertical bar in a corner gives you something to grip as you turn, preventing the loss of balance that happens when you twist on a wet surface.
The practical answer: install mostly horizontal bars (the standard for most showers) and add vertical bars in corners where people naturally turn. This combination covers the actual movements that happen in a shower. If you're unsure, horizontal bars are the safer default, they work for most situations and most users.
Installing Grab Bars for Tiled Showers
Tiled showers require different installation techniques than drywall or fiberglass. Tile is hard and brittle, but it's also durable and long-lasting when anchored correctly. Proper installation means your grab bars will hold up without loosening or failing.
Anchoring Into Tile Properly
Drilling through tile without cracking it requires the right tools and technique. Use a carbide-tipped drill bit designed for tile, not a standard metal bit. Mark your holes carefully, measure twice, drill once. Tile cracks easily if you slip or apply uneven pressure.
Drill slowly and let the bit do the work. Don't force it. Apply light pressure and let the carbide tip cut through gradually. If you're drilling near the edge of a tile, go even slower, edges are the most likely to crack.
Once you've drilled through the tile, you'll hit the substrate beneath (usually cement board or mortar). Continue drilling into that substrate. Your anchor will go through the tile and into the substrate, where it grips and holds the bar securely.
Use stainless steel anchors rated for wet environments. Plastic anchors absorb moisture and degrade over time. Stainless steel anchors resist corrosion and maintain their holding power in the humid shower environment. Install anchors deep enough that they grip the substrate fully, usually 1.5 to 2 inches.
Waterproofing and Moisture Protection
Waterproofing is what separates a grab bar installation that lasts from one that fails. Every hole you drill is a potential entry point for water. Water gets behind the tile, finds the substrate, and causes rot and mold.
After drilling and before installing the anchor, apply a waterproof sealant around the hole. Use a silicone or polyurethane sealant rated for wet areas.
After the grab bar is installed, seal around the mounting plate where it meets the tile. Apply waterproof caulk around the entire perimeter of the mounting plate. This prevents water from seeping behind the plate and into the wall.
Use stainless steel fasteners throughout. Steel bolts and screws will rust in the moist shower environment, eventually failing and staining the tile. Stainless steel costs slightly more but lasts indefinitely. It's the only choice for wet areas.
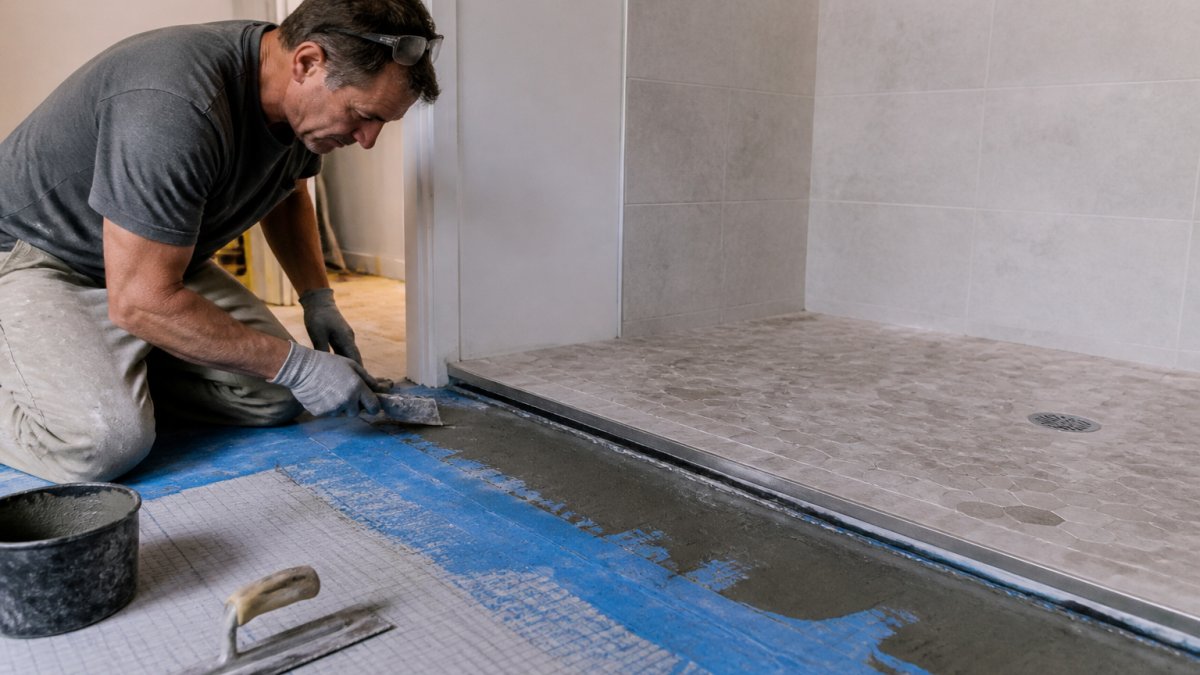
TRC Home Improvement uses advanced waterproofing techniques on every tiled shower installation. We know that grab bar placement is only half the job, proper waterproofing ensures the bars stay secure and the shower stays dry.
Common Mistakes to Avoid When Placing Grab Bars
Several installation mistakes can undermine even the best grab bar placement. Knowing what to avoid helps you get it right the first time.
Installing bars too high or too low. Bars outside the 33 to 36-inch range for standard positions create awkward gripping angles and reduce stability.
Spacing bars too far apart. If bars are more than 60 inches apart, users lose the sense of continuous support.
Skipping corner bars. Corners are high-risk zones. People turn and pivot there, and that's exactly where they need support.
Using the wrong anchors. Plastic anchors in wet environments fail. Anchors that don't grip the substrate fully will loosen over time.
Neglecting waterproofing. A grab bar that isn't properly sealed becomes a water entry point.
Installing bars without checking the substrate. Tile might look solid, but the substrate beneath could be damaged or weak. Check the wall behind the tile before anchoring bars.
Mixing bar styles and finishes. Use the same style and finish throughout the shower. Mixed finishes look unfinished and suggest inconsistent installation quality.
Accessibility Controls and Backup Safety Features
Beyond grab bar placement, several other features make showers safer for people with mobility challenges or vision limitations.
Handheld showerheads give users control over water direction without reaching or twisting. They're especially valuable for people with limited mobility or balance issues.
Shower seats and benches let people shower while seated, eliminating balance challenges. A built-in bench is safer than a removable seat because it's stable and won't shift.
Non-slip flooring is essential. Textured tile or non-slip coatings reduce the risk of slipping on wet surfaces. Smooth tile is beautiful but dangerous. Choose safety first.
Adequate lighting helps people see hazards and move confidently. Bright, even lighting in the shower area reduces falls caused by poor visibility.
Accessible controls matter. Shower valves and controls should be reachable from a seated position if someone uses a shower seat.
Temperature control prevents scalding. A thermostatic valve maintains water temperature and prevents sudden hot surges.
Essential grab bar placement for walk-in showers comes down to understanding how people actually move through the space and positioning bars where they'll naturally reach for support.
Frequently Asked Questions
Where should grab bars be placed in a walk-in shower?
Grab bars should be installed at entry and exit points, along interior walls at corners, inside the shower enclosure for balance support, and near any built-in seating. Horizontal bars work best for pulling yourself up or stabilizing during entry; vertical bars help with balance and reaching. Professional placement ensures bars anchor into studs or solid backing behind tile, so they support your full body weight without slipping or pulling away from the wall.
How high should a grab bar be installed in a shower?
Standard grab bar height is 33 to 36 inches from the shower floor for horizontal bars used during entry and movement.
Can grab bars be installed on tiled shower walls?
Yes, grab bars can be securely installed on tiled shower walls when done correctly. The key is drilling through the tile into solid backing material (studs, blocking, or cement board) behind it, using stainless steel anchors rated for wet environments. Proper waterproofing around the mounting holes prevents water from seeping behind the tile.
Should I use vertical or horizontal grab bars in my walk-in shower?
Most walk-in showers benefit from both. Horizontal bars (24 to 36 inches long) work best for stability during entry, exit, and movement along walls. Vertical bars (18 to 24 inches tall) help with balance and pulling yourself upright, especially near corners or seating areas. The combination gives you multiple support points and accommodates different body positions. Your specific layout and mobility needs determine the exact placement, which a professional can assess during design consultation.
Contact Us

Comments